Haircut & Style- The Classic Taper
Men’s Classic Taper Haircut
The featured haircut today is nothing revolutionary, instead it is a solid look that has stood the test of time. If you are looking for reliable and simple, then this may be the haircut for you.
What to ask for?
Simple Answer:
"#3 on back and sides, tapered neckline. Long enough on top to brush back."
Long Answer:
This is the "short back and sides, longer on top" haircut that makes up the majority of haircuts at a barbershop. However, I find that to be too vague of instructions for me to truly understand the client's request. As well, this is a look that offers varying levels of customization. If you want a similar look, you can certainly ask for the simple answer shown above. But if you want the look to be optimized to suit you best, here are the things you will need to consider:
For a short back and sides, I like to ask clients how short they are comfortable going. This could mean: a fade, some scalp exposure, or keeping the sides looking full with no scalp showing. This is a helpful guide for me to determine the guard length for the sides, as instead of picking a number that clients may not understand, we are going by visual preference and can fine tune from there.
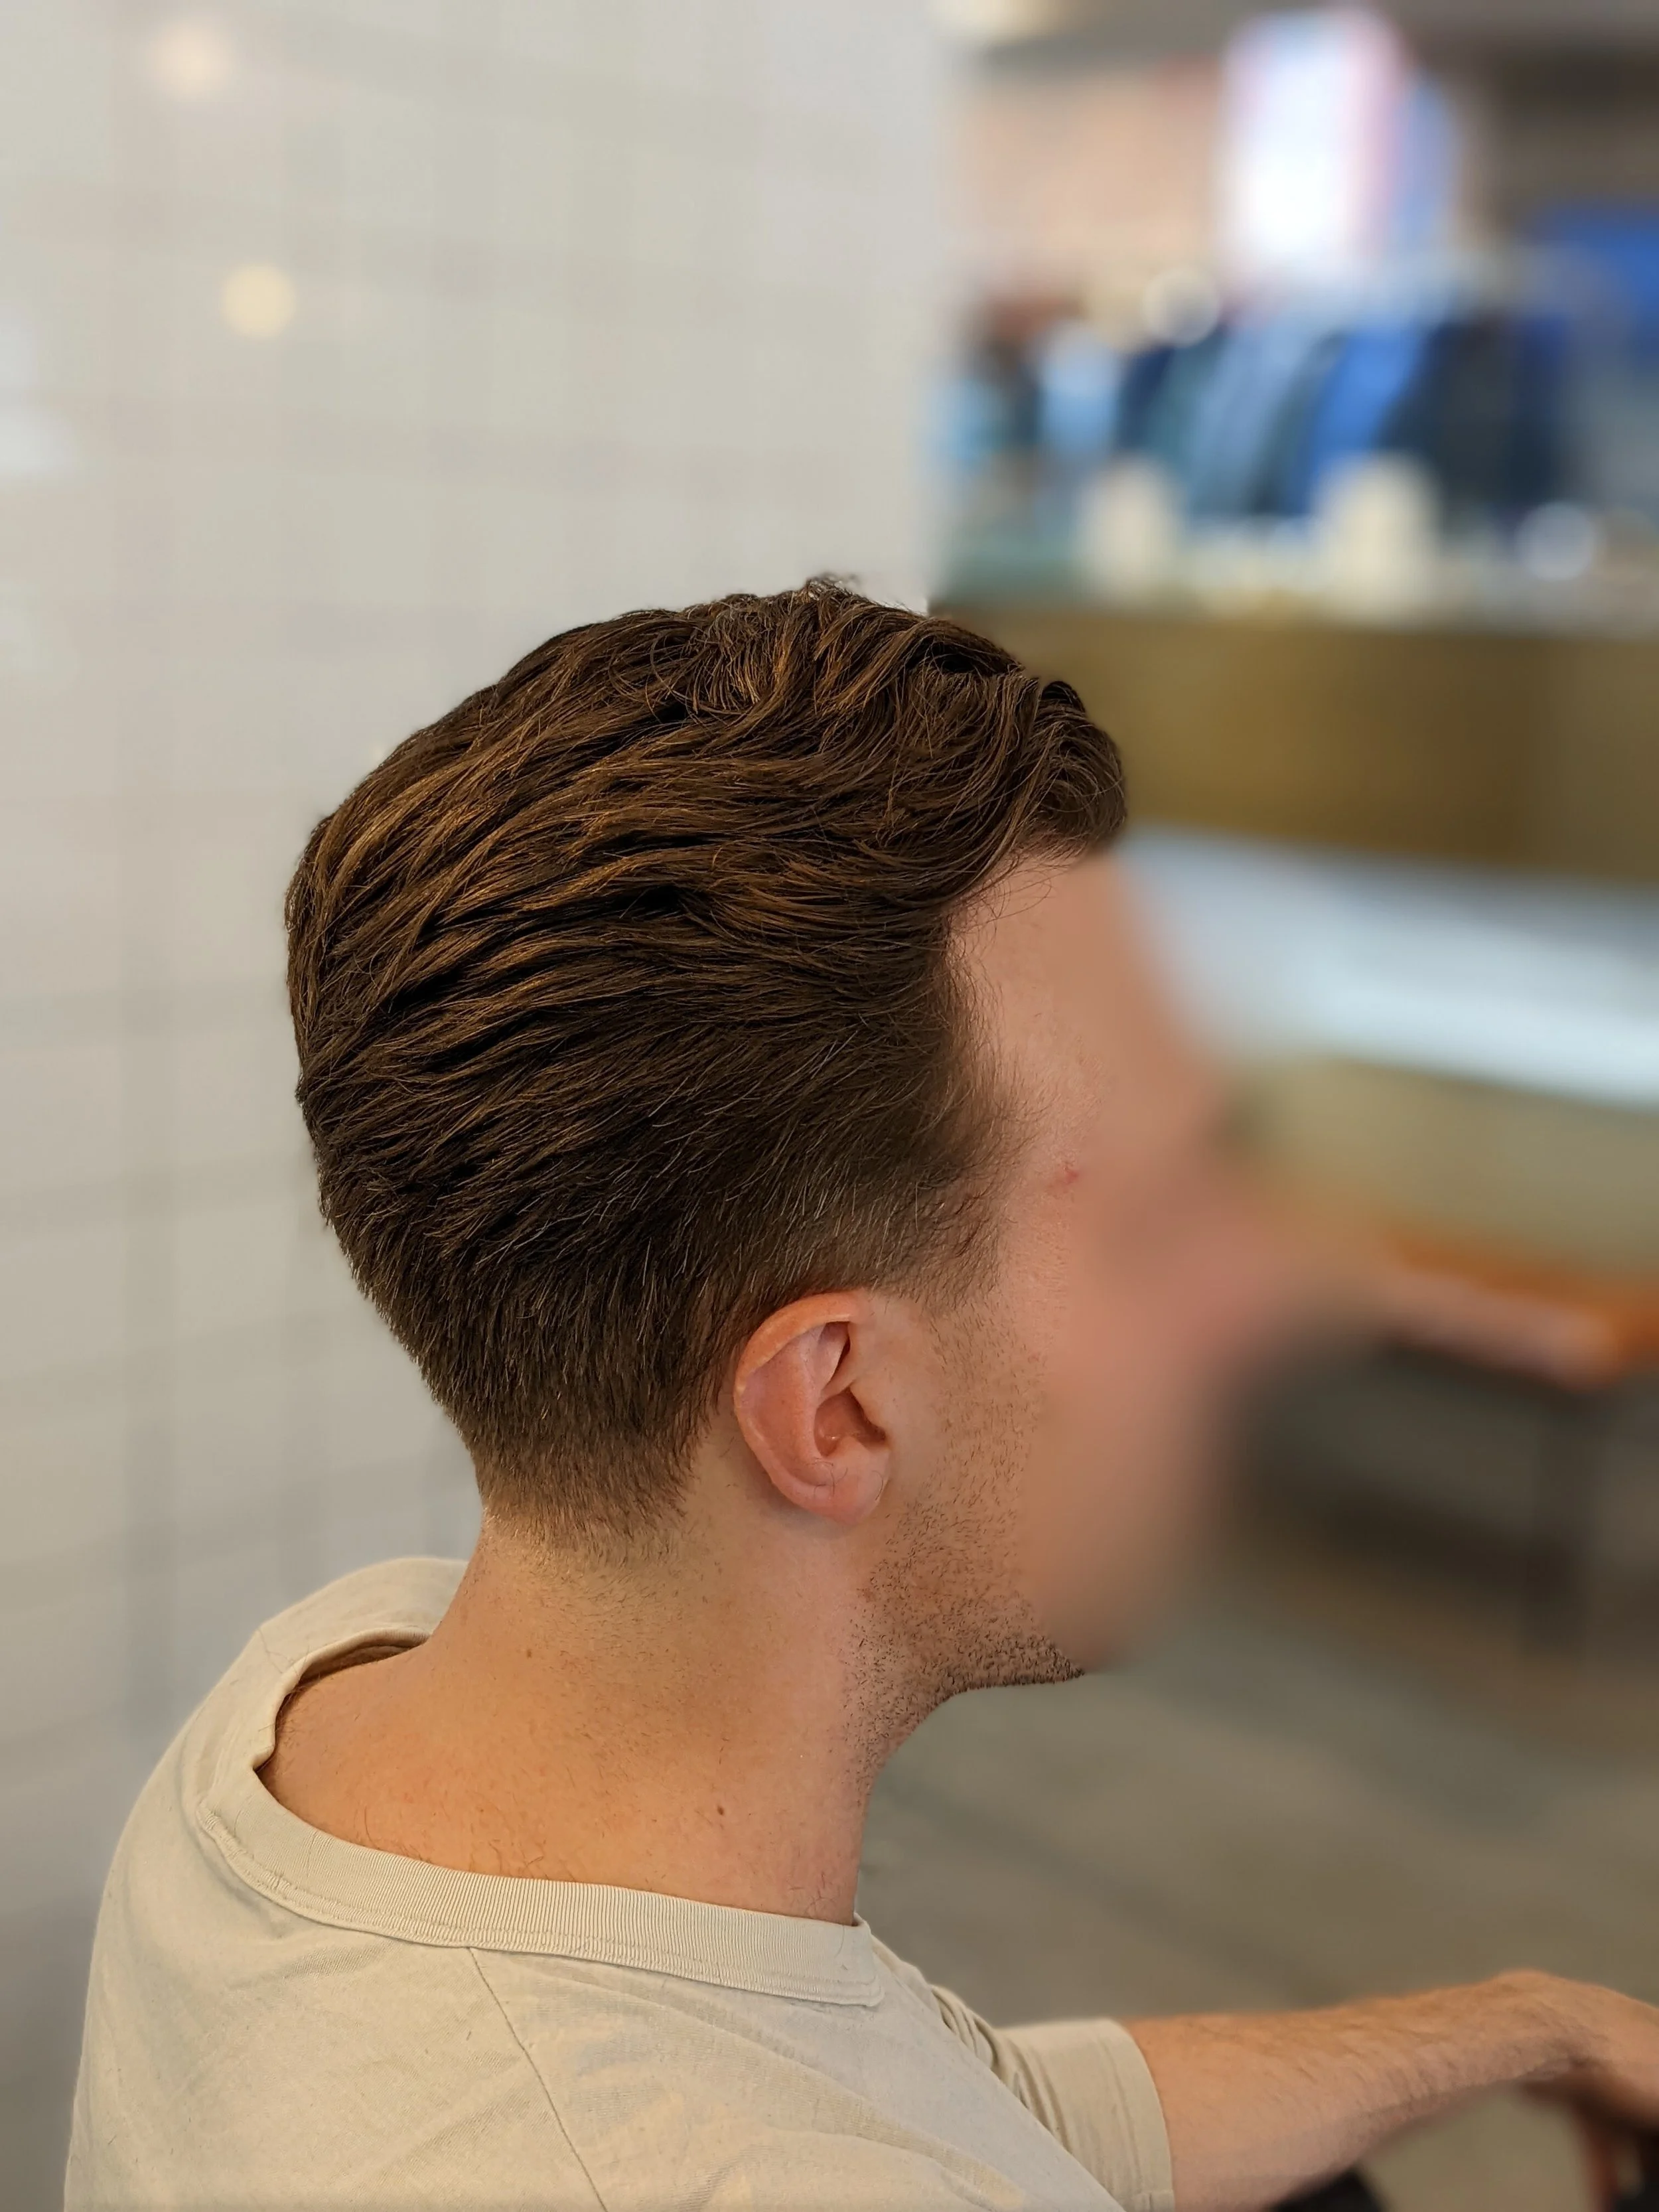
Using the photo as an example, we went with a #3 guard. My client wanted to keep the sides on the fuller side, but still short enough to be clean. You may find that your hair looks different with a #3 than my client here and that depends on hair density (how much hair you have) and the texture of your hair (how your hair strands bend/ behave).
For the length on top, you want something long enough that offers versatility in styling. Usually, I recommend that the front of the hair when brought down reaches around eyebrow level. This will change depending on the individual client's facial features and hair texture. After establishing the front length, the rest of the top will be cut to match, and may gradually become shorter as it approaches the back of the head.
Alternatively, you can determine the length on top based on the hair's natural texture. Clients may ask that the top be cut so that it can still showcase their "waves or curls". This was the case for the client in the image, as he had wanted his hair long enough so that there would still be a nice wave to it.
Notice that the sides are blended to the top on all sides of the head, and there is no disconnection where the #3 ends abruptly. The benefit of this is that it offers versatility in where my client wishes to part the hair, and is not stuck styling the hair only one way. Additionally, the hair will grow out evenly. This is great for clients that may not wish to come in regularly, as the hair will last them longer and they won't have any awkward imbalances for weeks.
Additionally, the hair on the neck line is tapered so that it appears to fade out into skin, but only at the very bottom. The sideburns also have a subtle taper as well. These are the areas in which the hair seems to grow unevenly, and may quickly appear longer than the rest of the haircut. To increase the longevity of the look, I will usually taper these areas for the majority of my short haircuts. You may have been asked in the past if you wanted a square or rounded neckline. I am personally not a fan of this, as either option creates an unnatural silhouette. It also won't grow out as nicely, especially for those with necklines that grow in different patterns.

Neck Taper
How to style:
The advantage of short back and sides is that you only really have to worry about styling the top of the hair. The process may vary from person to person based on the hair texture and density, but overall the process follows these core points:
Direct the hair backwards.
For some, this means simply adding product to damp hair and brushing it backwards. The hair set in place and a parting naturally forms based on the hair growth pattern. Very little effort is needed, and I envy individuals who can do that.
For me and probably a good handful of others with more stubborn hair, a hairdryer is needed to set the overall direction of the hair backwards. (I have already written an in-depth tutorial on how to blow dry hair, so I will try to keep this next part simple). I recommend using a pre-styling product like a salt spray or heat protectant spray prior to applying heat, as it will aid in controlling the hair and preventing any damage from the blow dryer's heat.
Using a brush along with the blow dryer can help with adding volume and controlling texture. (I recommend a small round brush such as this.)
Add Hair Product
For a look like this, I think a matte look is great but you can also play around with adding shine, especially if your hair is on the darker side. The shine will add another level of definition, but be cautious on adding too much as you could also look like you just have greasy hair.
Consider adding a Part in the Hair
At the current length, you may find that some of your hair doesn't want to go backwards. It may stand taller than the rest and split in different directions. This is where your natural part is, and instead of fighting it with more product or blow drying, I think it is best to just work with it and lay the hair flat in the directions it wants to go in.
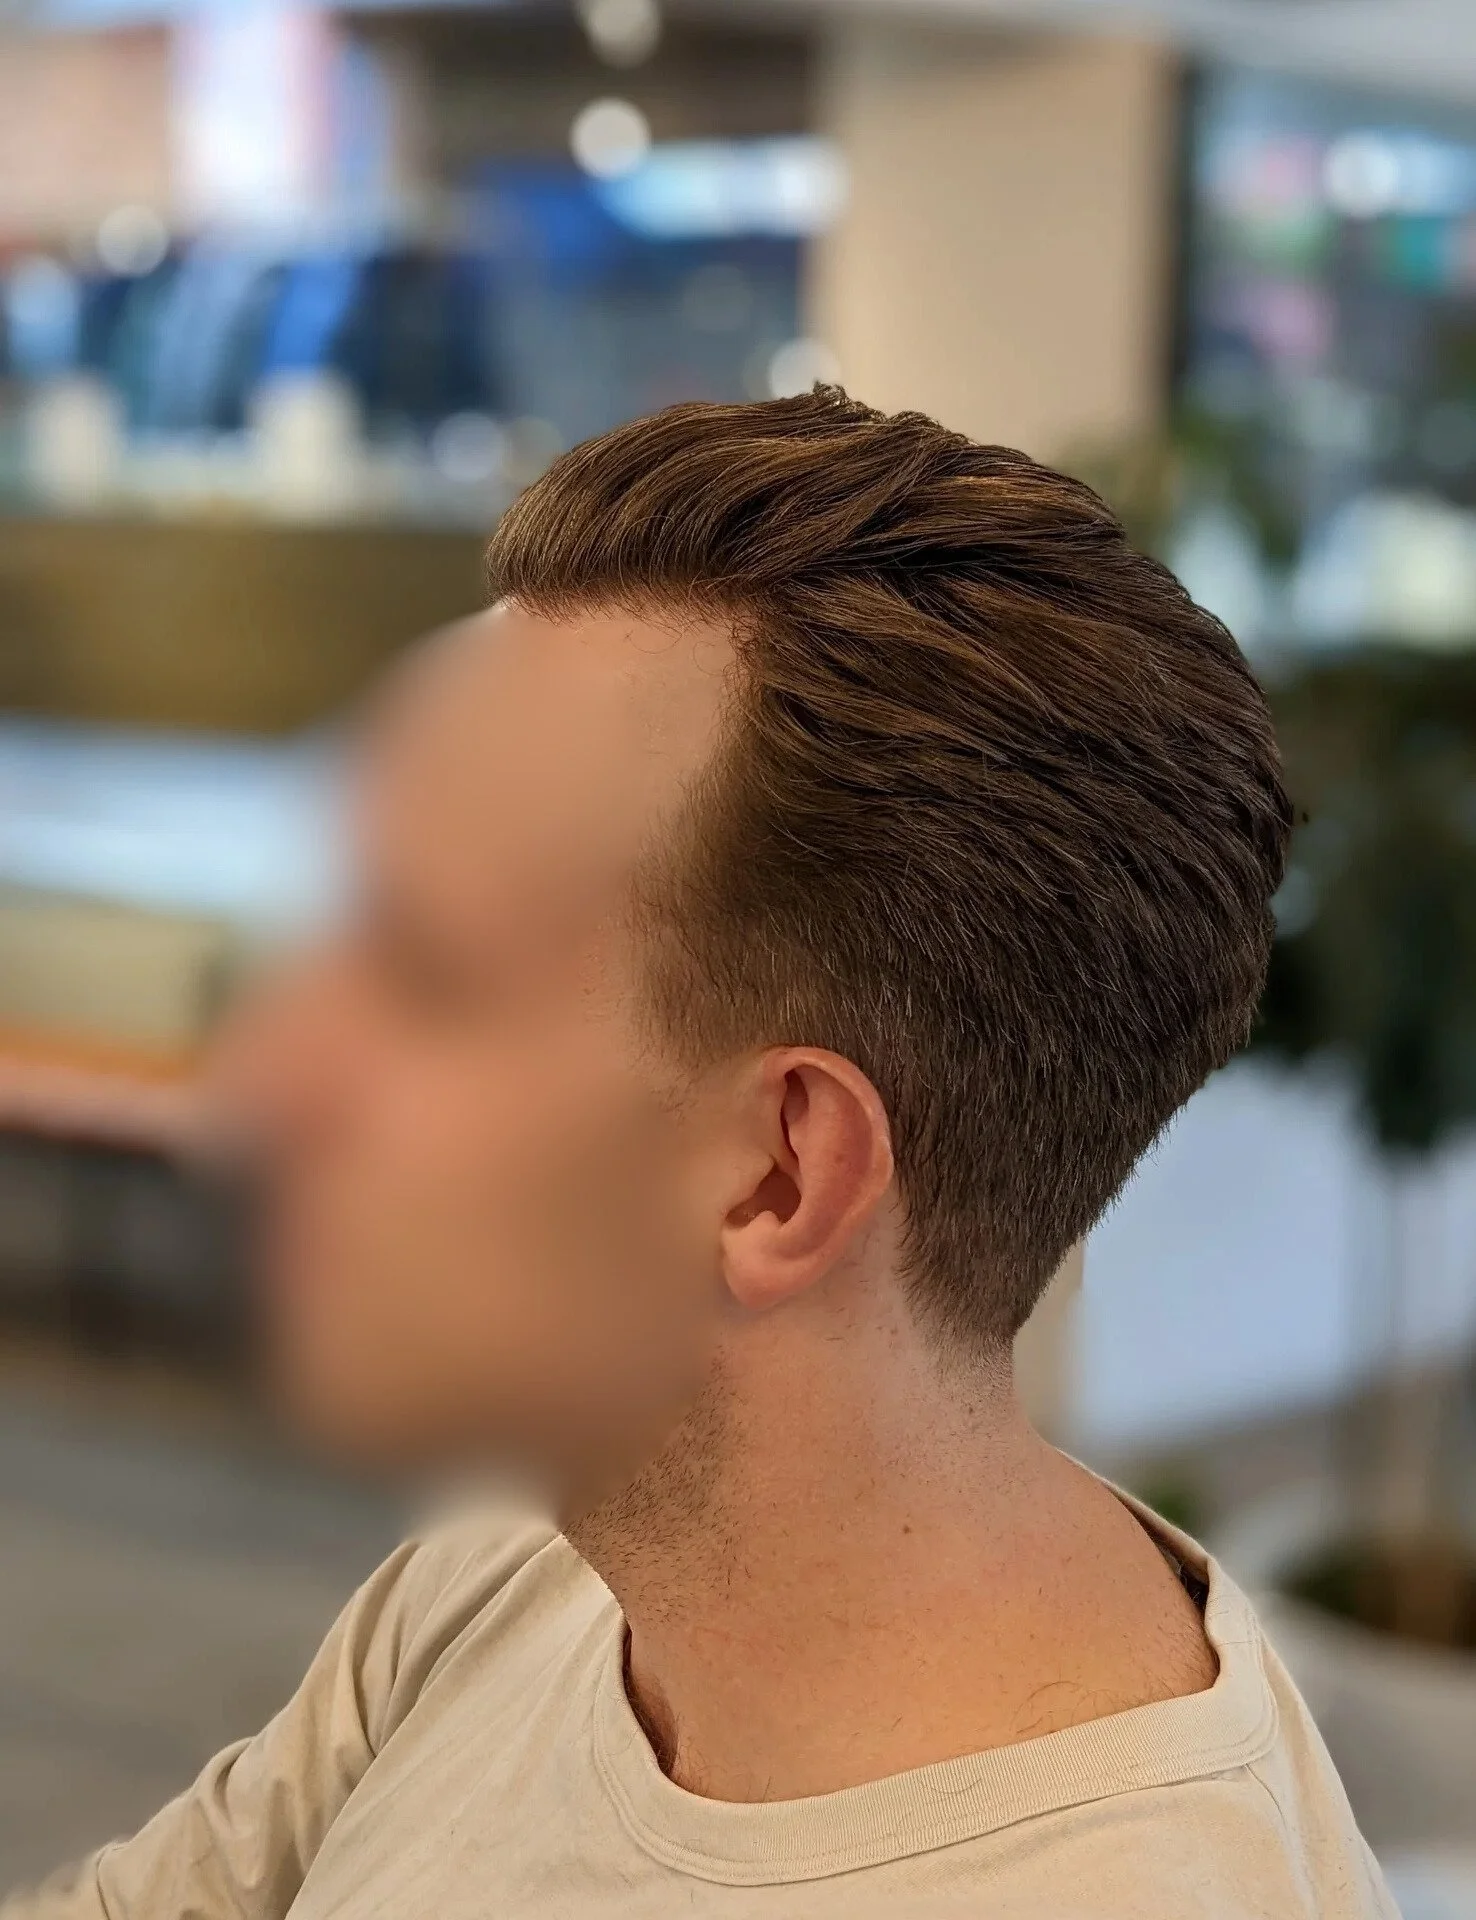
Notice that the hair has a little bit of a parting near the front hair line, while everything still goes backwards.
Looking for a barber in Calgary? Want a haircut that works for you? Look no further and book your next haircut with me!